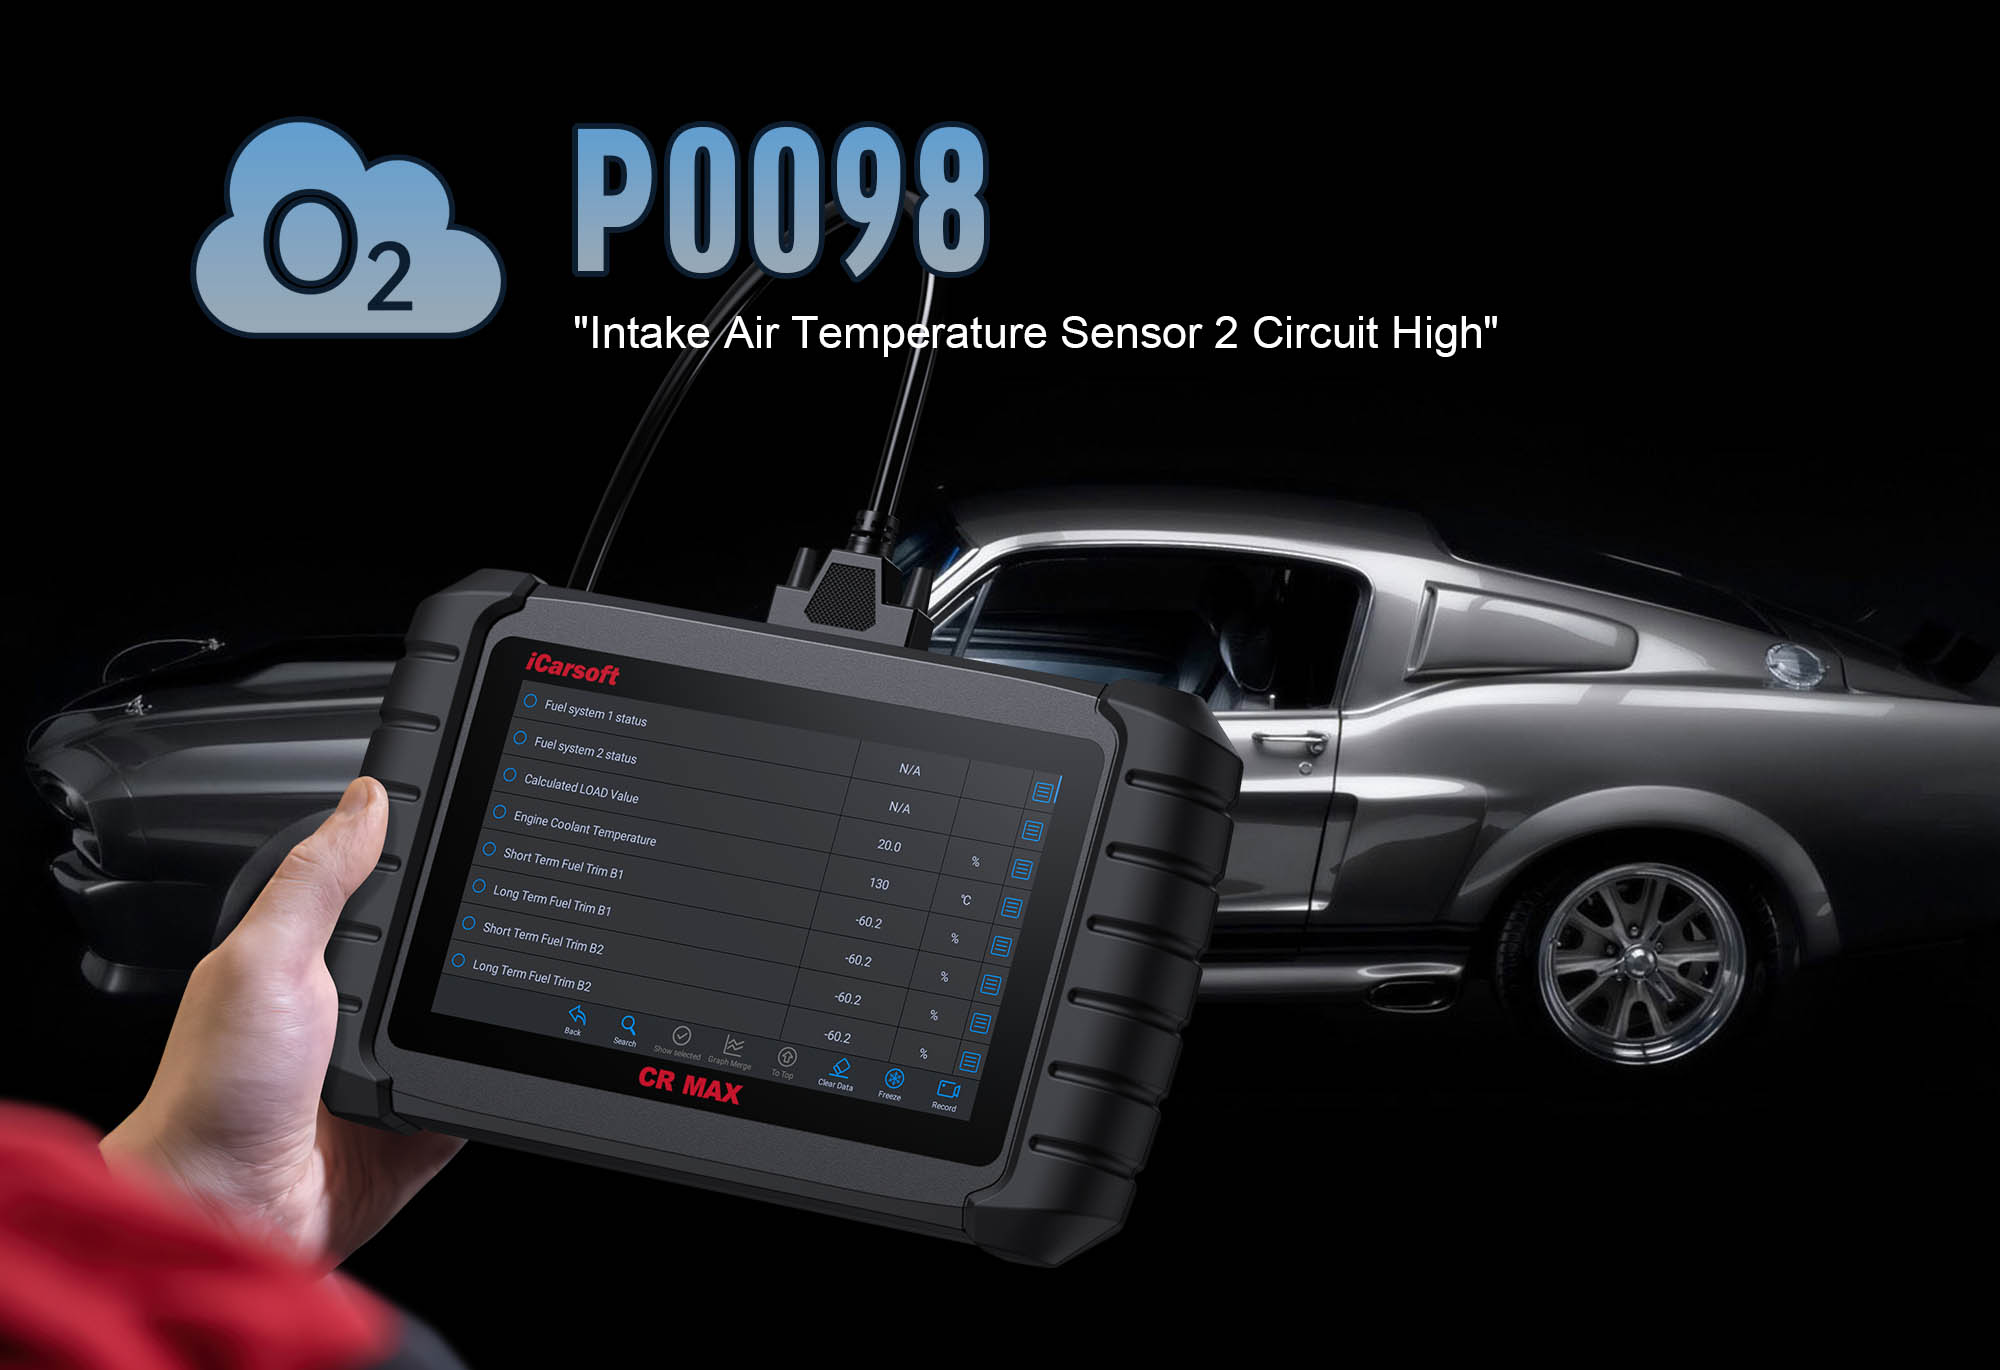
Experiencing the dreaded Check Engine Light, or your scan tool is reporting P0098 – Intake Air Temperature Sensor 2 Circuit High (Bank 1)? You’re not alone—and resolving it efficiently starts with knowing what’s going wrong and having the right diagnostic partner. Here’s your comprehensive IAT sensor 2 circuit high fix guide featuring the powerful iCarsoft CR MAX.
What Does the P0098 Code Mean?
P0098 is a generic OBD-II trouble code indicating that the Engine Control Module (ECM) has detected an unusually high voltage from the intake air temperature (IAT) sensor 2 circuit on Bank 1—resulting in readings above the normal threshold.
Here’s the technical breakdown:
-
The IAT sensor 2 measures the temperature of air entering the engine (typically after the turbocharger or intercooler, depending on the vehicle) to help the ECM calculate the optimal air-fuel mixture.
-
Normal IAT sensor circuits send a voltage signal that decreases as air temperature rises (e.g., 5V at -40°F, 0.5V at 257°F). A "high circuit" means the ECM receives voltage above the maximum expected range (often >4.8V).
-
Bank 1 refers to the cylinder bank containing the number 1 cylinder—critical for locating the specific sensor on V-shaped or boxer engines.
Common Causes of P0098
Several issues can disrupt the IAT sensor 2 circuit and trigger P0098. Below are the most frequent culprits, organized by likelihood:
Faulty IAT Sensor 2
Internal sensor failure (e.g., open circuit, broken thermistor) is the top cause. A failed sensor can’t regulate voltage properly, sending a constant high signal to the ECM.
Damaged Wiring or Connectors
Frayed, cut, or corroded wires in the IAT sensor circuit break electrical flow. Loose or rusted connectors (at the sensor or ECM) also cause high voltage readings by disrupting signal transmission.
Short to Battery Voltage
The sensor’s signal wire may accidentally short to a 12V battery line (e.g., via a damaged insulation). This forces the circuit to send maximum voltage to the ECM, triggering P0098.
ECM/PCM Malfunction (Rare)
A faulty ECM may incorrectly interpret normal sensor signals as "high." This is only likely after ruling out all other causes (sensor, wiring, shorts).
Symptoms to Watch For
While P0098 doesn’t always cause severe drivability issues, it often reveals hidden problems. Watch for these warning signs:
Illuminated Check Engine Light
The most obvious symptom— the ECM triggers the light as soon as it detects a high circuit voltage from IAT sensor 2.
Reduced Engine Performance
Incorrect air temperature data leads the ECM to use a too-rich or too-lean air-fuel mixture. This causes sluggish acceleration, hesitation, or a "flat" feeling during driving.
Rough Idling
The engine may shake or vibrate at idle, with RPMs fluctuating unpredictably (e.g., 600–900 RPM) due to poor fuel mixture.
Increased Fuel Consumption
A bad IAT sensor can force the ECM to over-fuel the engine. You’ll notice more frequent gas station stops, with MPG dropping by 10–15%.
Difficulty Starting
In cold weather, incorrect IAT data disrupts cold-start fuel enrichment. The engine may crank longer than usual or fail to start on the first try.
Why You Shouldn’t Ignore It
Ignoring P0098 is risky—here’s why:
-
Inaccurate Air-Fuel Mixture: The ECM relies on IAT data to balance fuel and air. A bad sensor leads to inefficient combustion, which damages spark plugs, oxygen sensors, and even the catalytic converter over time.
-
Higher Emissions: Poor fuel mixture increases harmful exhaust emissions, which may cause your vehicle to fail an emissions test.
-
Escalating Damage: A simple sensor or wiring issue can lead to more expensive repairs (e.g., catalytic converter replacement, ECM damage) if left unaddressed.
Step-by-Step Fix Guide for P0098
Resolve P0098 efficiently with this targeted, DIY-friendly process—made easier with the iCarsoft CR MAX:
-
1. Scan for Codes and Confirm P0098
-
Connect the iCarsoft CR MAX to your vehicle’s OBD-II port (under the dashboard). Power on the tool and use AutoVIN Recognition to automatically identify your vehicle’s make/model.
-
Navigate to Engine Control Module > Fault Codes > Read Codes to confirm P0098. Check for related codes (e.g., P0097 for "IAT Sensor 2 Circuit Low") to rule out additional issues.
-
Review freeze-frame data to see when the code triggered (e.g., "Highway Speed," "Cold Start")—this helps narrow down the cause.
-
2. Visual Inspection of Sensor and Wiring
-
Locate IAT sensor 2 using the CR MAX’s Component Location feature (typically near the intake manifold, intercooler outlet, or turbocharger).
-
Inspect the sensor for physical damage (cracks, oil contamination) and check the wiring harness for frays, cuts, or corrosion. Look for loose connectors—wiggle them gently to see if the connection is secure.
-
Clean corroded connectors with electrical contact cleaner (avoid water) to restore signal flow.
-
3. Voltage and Continuity Testing (with CR MAX)
-
Use the CR MAX’s built-in Multimeter function to test the IAT sensor circuit:
-
Reference Voltage: Disconnect the sensor connector and measure voltage at the "reference" pin (typically labeled "5V" or "VREF")—it should read 4.5–5V (OEM specs vary slightly).
-
Signal Voltage: Reconnect the sensor, start the engine, and monitor live signal voltage via Engine > Live Data > IAT Sensor 2. Normal readings range from 0.5V (hot air) to 5V (cold air); a constant >4.8V confirms a high circuit.
-
Continuity: Test wiring between the sensor and ECM for breaks using the CR MAX’s Continuity Test—a "beep" indicates a solid connection; no beep means a broken wire.
-
4. Replace or Repair Faulty Components
-
Bad Sensor: If voltage tests confirm a faulty IAT sensor 2, replace it with an OEM or high-quality aftermarket part. Torque the new sensor to OEM specs (typically 8–12 ft-lbs) to avoid damage.
-
Damaged Wiring: Repair frayed wires with electrical tape or heat-shrink tubing. Replace completely cut wires with matching-gauge wire (use crimp connectors for secure joins).
-
Short to Battery: Locate and fix the shorted wire (e.g., repair damaged insulation) to prevent voltage leakage.
-
5. Verify Repairs with CR MAX
-
Use the CR MAX to Clear Codes from the ECM.
-
Test drive for 20–30 miles (include city and highway driving) while monitoring live IAT sensor data—ensure voltage readings fluctuate normally with air temperature.
-
Re-scan the engine system. If P0098 does not return, the repair is successful. If it reappears, revisit wiring or test the ECM (consult a professional if needed).
CR MAX: Your Go-To Tool for P0098 Fixes
Sample Workflow with iCarsoft CR MAX
See how the CR MAX streamlines P0098 diagnosis in real-world use:
-
Plug the CR MAX into the OBD-II port—AutoVIN recognizes your 2022 Honda Civic in 10 seconds.
-
Read codes: Confirm P0098, no related codes. Freeze-frame shows it triggered during cold start (38°F).
-
Use Component Location to find IAT sensor 2 near the intercooler outlet.
-
Monitor live data: IAT sensor 2 voltage stays at 5.0V (even as engine warms up)—confirms high circuit.
-
Run Bi-Directional Test: Activate the sensor—no voltage change, so replace the sensor.
-
Clear codes, test drive, re-scan: P0098 is gone, and live voltage now reads 3.2V (normal for 75°F air).
Preventive Maintenance Tips
Avoid future P0098 issues with these simple habits:
Inspect IAT Sensor Wiring Regularly
Check the sensor harness every 6 months (or during oil changes) for damage—pay extra attention if you frequently drive on rough roads (debris can cut wires).
Use Quality Replacement Parts
Opt for OEM or OEM-equivalent IAT sensors—cheap aftermarket sensors often fail within 6–12 months, triggering P0098 again.
Keep the Engine Bay Clean
Dirt, oil, and moisture cause connector corrosion. Clean the engine bay (avoid high-pressure water on sensors) to protect the IAT sensor and wiring.
Run Periodic Health Scans
Use the CR MAX every 3 months to scan for pending codes—catch minor IAT sensor issues before they trigger P0098 and damage other components.
Address Check Engine Lights Promptly
Don’t wait—even a "minor" light can indicate a developing problem that escalates into costly repairs.
FAQ: Common Questions About P0098
Q: Can I drive my car with P0098?
A: Short distances (e.g., to a repair shop) are usually safe if there’s no severe performance loss. However, avoid long drives—incorrect fuel mixture can damage the catalytic converter or spark plugs over time. If the engine hesitates or stalls, stop driving immediately.
Q: How much does it cost to fix P0098?
A: Costs vary by cause:
-
IAT sensor 2 replacement: $50–$200 (parts + DIY labor; $150–$300 at a shop).
-
Wiring repair: $20–$100 (DIY with CR MAX; $100–$300 at a shop).
-
ECM repair (rare): $500–$1,500 (requires professional service).
Q: Where is IAT sensor 2 located on Bank 1?
A: Location varies by vehicle, but it’s typically near:
-
Intake manifold (after the throttle body).
-
Intercooler outlet (on turbocharged engines).
-
Turbocharger compressor housing.
Use the iCarsoft CR MAX’s
Component Location feature for brand-specific guidance—this avoids guessing and saves time.
Q: Will cleaning the IAT sensor fix P0098?
A: Only if the sensor is contaminated (e.g., with oil or dirt). Use mass air flow (MAF) sensor cleaner to gently clean the sensor’s thermistor (avoid touching it with your fingers). If cleaning doesn’t lower the voltage reading, the sensor is faulty and needs replacement.
Q: Does the CR MAX work for P0098 on all vehicle brands?
A: Yes—the CR MAX supports over 40 major brands (Ford, Chevrolet, Toyota, BMW, Mercedes, Volkswagen, etc.) and provides brand-specific diagnostics for IAT sensor 2. It even works on European models (e.g., Peugeot, Citroën) where P0098 is common.
Summary Table: P0098 Diagnosis & Repair Steps
|
Step
|
Action with iCarsoft CR MAX
|
Common Fix
|
|
1
|
Read P0098 + related codes; check freeze-frame data
|
Confirm high circuit issue; rule out other codes
|
|
2
|
Use Component Location to find IAT sensor 2; inspect wiring
|
Clean corroded connectors; repair frayed wires
|
|
3
|
Test voltage/continuity with built-in multimeter; monitor live data
|
Identify shorted wires or faulty sensor
|
|
4
|
Run bi-directional test to verify sensor operation
|
Replace faulty IAT sensor 2
|
|
5
|
Clear codes; test drive + re-scan
|
Confirm repair success; ensure no recurring P0098
|
Conclusion
OBD-II code P0098 (Intake Air Temperature Sensor 2 Circuit High) may seem intimidating, but with the right knowledge and tools, it’s a manageable fix. The key is to quickly diagnose the root cause—whether it’s a faulty sensor, damaged wiring, or a short circuit—and address it before it harms your engine.
The iCarsoft CR MAX simplifies every step: from locating the sensor and testing circuits to verifying repairs. Its professional features (bi-directional testing, live data, brand-specific diagrams) eliminate guesswork, saving you time and money compared to basic scanners or dealer visits.
Don’t let P0098 reduce performance or cause costly damage. With this guide and the iCarsoft CR MAX, you’ll have the confidence to diagnose and fix the issue—whether you’re a DIY enthusiast or a professional technician.