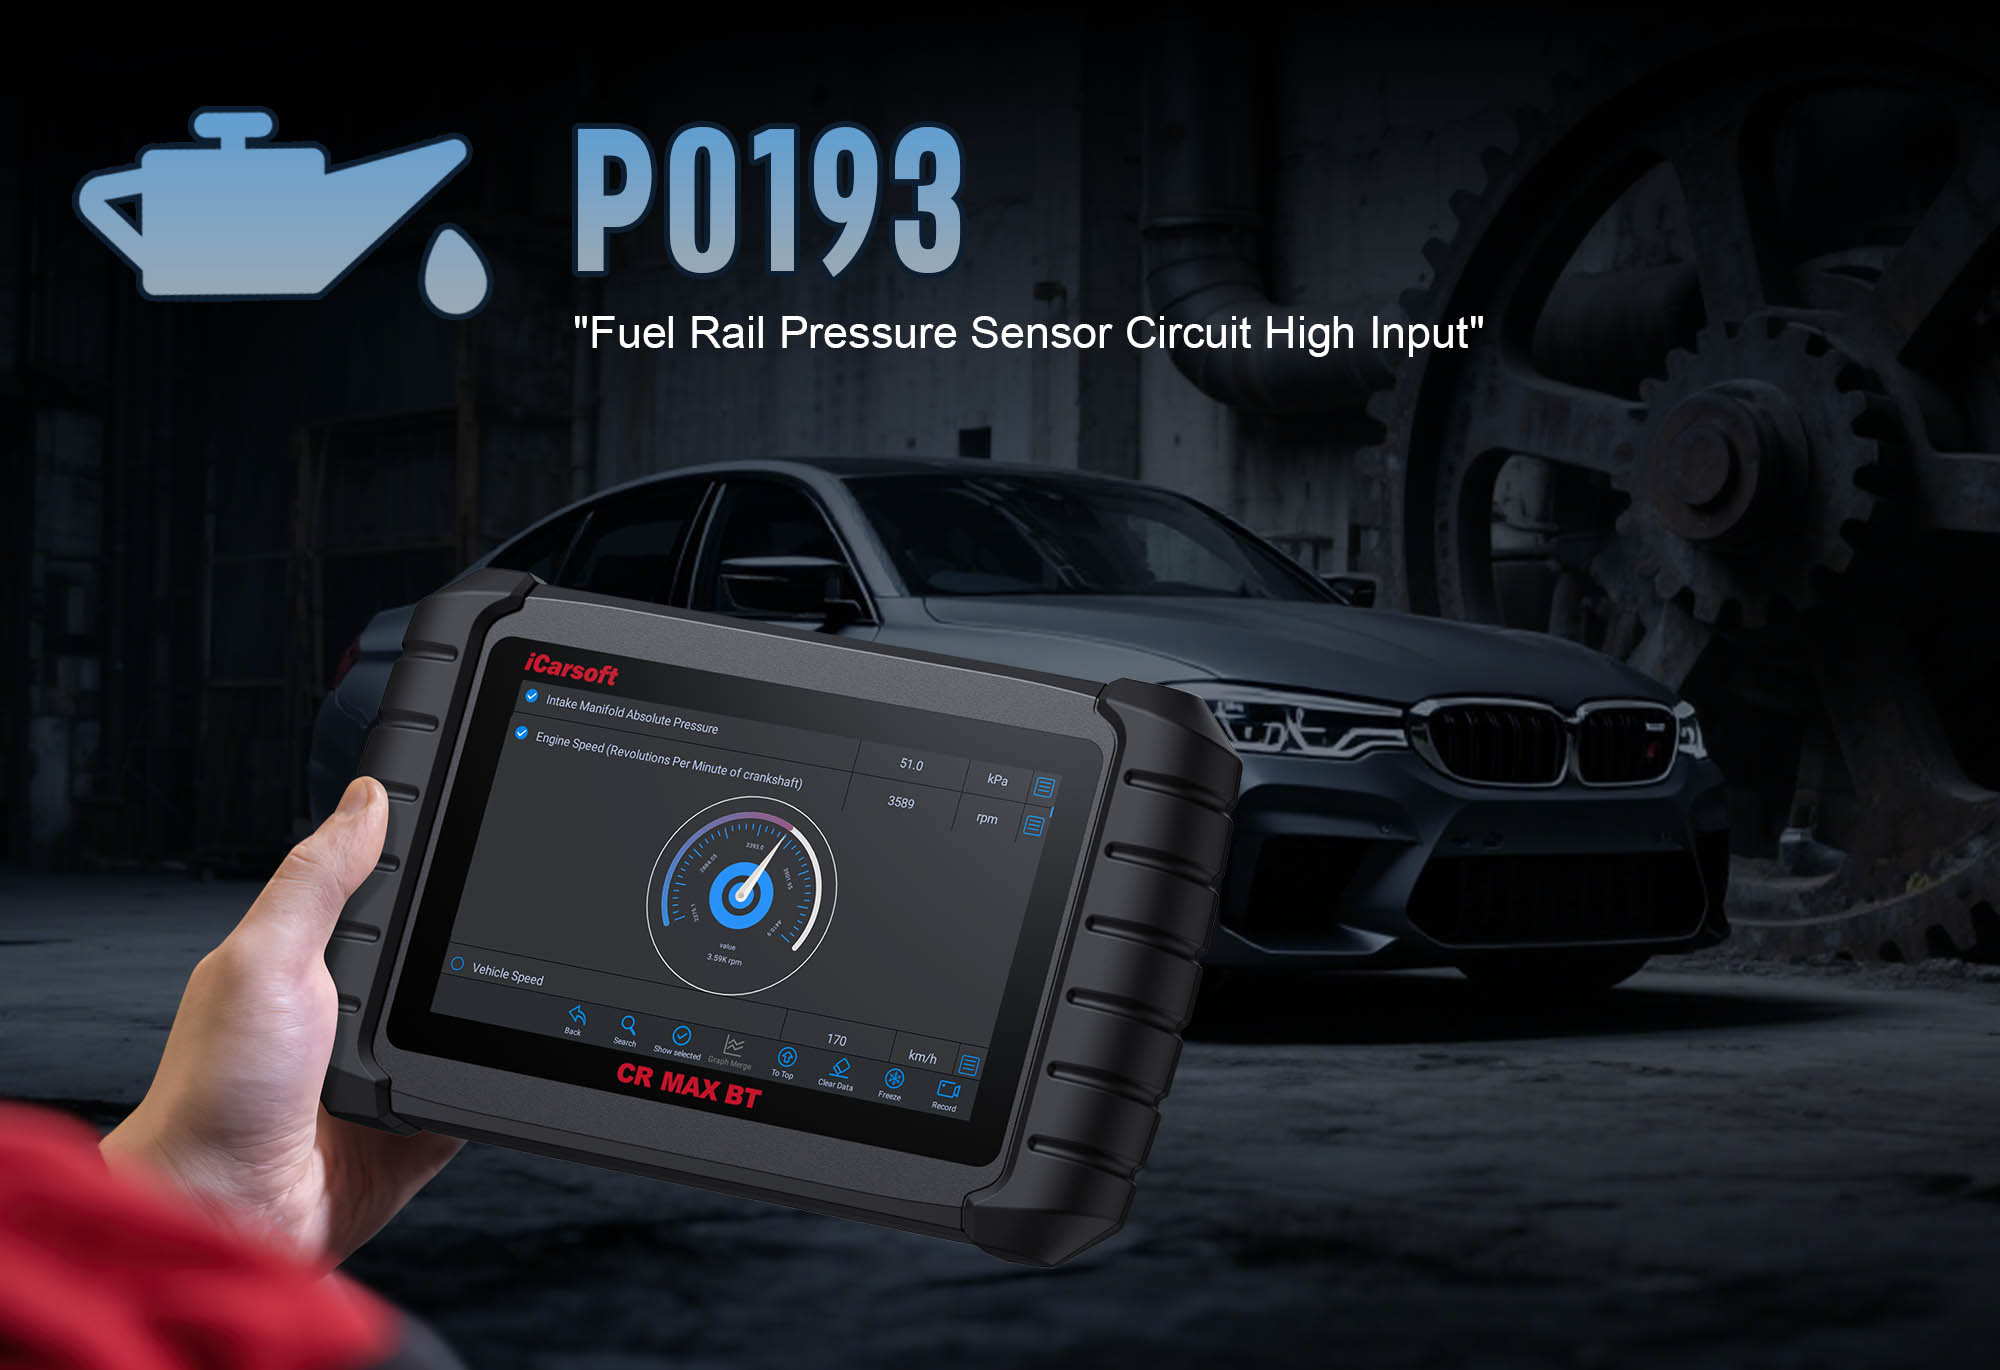
P0193 Code: Diagnose & Fix Fuel Pressure Sensor High Input with iCarsoft CR MAX BT
P0193 Code: How to Diagnose & Fix Fuel Pressure Sensor High Input with iCarsoft CR MAX BT
When your check engine light illuminates and a diagnostic scan returns P0193, your vehicle is alerting you to a critical fuel system issue: “Fuel Pressure Sensor A Circuit High Input.” This generic OBD-II code triggers when the Engine Control Module (ECM) receives an abnormally high voltage signal (typically above 4.5V) from the fuel pressure sensor—far outside its normal operating range. The fuel pressure sensor, mounted on the fuel rail, is vital for regulating fuel delivery to injectors; a faulty signal disrupts combustion, leading to poor performance or stalling. In this guide, we’ll break down P0193’s causes, symptoms, and how the iCarsoft CR MAX BT simplifies diagnosis and repair.
First: Understand P0193—What It Means & Why It Happens
To diagnose P0193 effectively, start with the sensor’s role and normal operation:
The Fuel Pressure Sensor’s Critical Role
Mounted on the fuel rail, the sensor converts fuel pressure into an electrical signal (typically 0.5V–4.5V) for the ECM. The ECM uses this data to adjust fuel injection timing and quantity:
-
At idle: Pressure hovers 300–500 psi → sensor sends 1.5V–2.5V.
-
Under acceleration: Pressure rises to 500–800 psi → sensor sends 2.5V–4.0V.
P0193 triggers when voltage exceeds 4.5V, signaling a “false high pressure” that confuses the ECM.
Key Symptoms of P0193
-
Hard Starting: The ECM reduces fuel delivery due to false “high pressure” readings, making the engine struggle to turn over.
-
Rough Idle or Misfires: Uneven fuel distribution to cylinders causes the engine to shake or sputter at idle.
-
Hesitation/Lack of Power: During acceleration, the ECM may restrict fuel flow, leading to sluggish performance.
-
Increased Fuel Consumption: The ECM overcompensates for perceived pressure issues, wasting fuel.
-
Illuminated Check Engine Light: Often paired with P0191 (sensor low input) or P0192 (sensor circuit low) in intermittent cases.
Common Causes of P0193
|
Cause
|
Description
|
|
Faulty Fuel Pressure Sensor
|
Most common cause: Internal electrical short (in sensors over 80,000 miles) sends a permanently high voltage signal.
|
|
Shorted Wiring/Connectors
|
Damaged wires or corroded pins create a short to the 5V reference voltage, spiking the sensor signal.
|
|
Excessive Fuel Pressure
|
Failing fuel pump or stuck pressure regulator pushes pressure beyond specs (check for P0087/P0088 alongside P0193).
|
|
Fuel Contamination
|
Dirt/debris in the fuel rail damages the sensor’s diaphragm, causing erratic high readings.
|
|
ECM Malfunction (Rare)
|
Faulty ECM voltage regulator sends excessive power to the sensor circuit.
|
Why iCarsoft CR MAX BT Excels at P0193 Diagnosis
Basic scanners only flag “fuel pressure sensor fault” but can’t distinguish between a faulty sensor, shorted wiring, or excessive pressure. The CR MAX BT solves this with features tailored to fuel system diagnostics:
Wireless Bluetooth Freedom
No cords tie you to the OBD port—move freely to inspect the fuel rail or wiring while monitoring real-time sensor data on your phone/tablet.
Dual Fuel Pressure Monitoring
Displays “Fuel Pressure Sensor Voltage” and “Calculated Fuel Pressure” side-by-side, making it easy to spot false spikes (e.g., 5.2V with normal pressure).
Vehicle-Specific Fuel Specs
Preloaded with manufacturer ranges (e.g., GM: 45–55 psi at idle; sensor voltage: 0.5V–4.5V) and pressure-voltage curves for accurate comparison.
Fuel System Bi-Directional Tests
Command the fuel pump to run (e.g., “Activate for 10 Seconds”) to test pressure stability—critical for ruling out pump/regulator issues.
Circuit Diagnostic Tools
Built-in multimeter and vehicle-specific wiring diagrams simplify testing for shorts in the sensor circuit.
Auto VIN & CAN-FD Support
Automatically detects your vehicle’s make/model/year and captures fast-changing pressure signals—key for intermittent P0193 cases.
Step-by-Step: Diagnose P0193 with iCarsoft CR MAX BT
-
Connect the CR MAX BT & Confirm P0193
1. Plug the CR MAX BT’s OBD-II adapter into your vehicle’s port (under the dashboard) and power on the tool.
2. Pair via Bluetooth (follow on-screen prompts—takes 10–15 seconds).
3. Use Auto VIN to select your vehicle (e.g., 2021 Dodge Ram, 2019 BMW 3 Series) for accurate fuel specs.
4. Navigate to Engine > Fault Codes > Read Codes to confirm P0193. Tap Code Details for vehicle-specific triggers (e.g., “Toyota: Sensor Voltage >4.7V for 3 Seconds”).
-
Analyze Real-Time Fuel Pressure Data
1. Go to Engine > Live Data > Fuel System and select:
- “Fuel Pressure Sensor Voltage” (should stay 0.5V–4.5V).
- “Calculated Fuel Pressure” (derived from voltage).
- “Fuel Pump Status” (On/Off—confirms pump function).
2. Start the engine and monitor data at idle, then light acceleration:
- P0193 Confirmation: Voltage spikes above 4.5V (e.g., 5.0V) with normal calculated pressure → faulty sensor/wiring.
- High Voltage + High Pressure: Pressure exceeds specs → check fuel pump/regulator (Step 4).
-
Inspect the Sensor & Wiring
1. Locate the sensor: Use the CR MAX BT’s Component Location tool (usually on the fuel rail, near injectors, with a 3-pin connector).
2. Visual inspection: Check for cracks, fuel leaks, or corrosion on the sensor/connector; look for frayed/melted wiring (common near hot engine parts).
3. Test for shorts: Turn off the engine, disconnect the sensor connector, set the CR MAX BT to “Resistance” mode, and probe the signal wire + ground. Readings <100Ω indicate a short (repair wiring).
-
Test Fuel Pressure with CR MAX BT
1. Navigate to Special Functions > Fuel System > Pressure Test.
2. Follow tool guidance:
- For vehicles with a test port: The tool shows where to connect a pressure gauge (use Test Port Location guide).
- For portless systems: The tool estimates pressure via sensor data + pump activation.
3. Compare results to specs:
- Normal pressure + high voltage → replace sensor (Step 5).
- High pressure + high voltage → replace fuel pump/regulator.
-
Replace the Fuel Pressure Sensor
1. Use the CR MAX BT’s Part Lookup to find the OEM replacement (e.g., Bosch 0281002934 for European models).
2. Relieve fuel pressure: Use the tool’s Relieve Fuel Pressure function to avoid spray.
3. Disconnect the sensor’s electrical connector, remove the old sensor (use a wrench—torque to 15 ft-lbs if specified), and install the new sensor with a fresh O-ring.
4. Reconnect the connector and restore fuel pressure.
-
Clear P0193 & Verify Repairs
1. Clear the code: Go to Engine > Fault Codes > Clear Codes and delete P0193.
2. ECM relearn: Navigate to Special Functions > Fuel System > Sensor Relearn to reset the ECM’s fuel pressure calibration.
3. Verify: Take a 25-minute test drive (idle, acceleration, highway speeds) and use Data Logging to record voltage. If P0193 doesn’t return and voltage stays 0.5V–4.5V, the repair is successful.
How to Prevent P0193 from Recurring
Use the iCarsoft CR MAX BT to keep your fuel system healthy and avoid P0193:
-
Quarterly Fuel System Scans: Run the tool’s Fuel System Health Check to monitor sensor voltage and pressure trends.
-
Use Top-Tier Fuel: Reduces contamination that damages the sensor’s diaphragm.
-
Replace Fuel Filter Regularly: Clogged filters strain the pump, leading to pressure irregularities (set reminders via the CR MAX BT’s Maintenance Schedule).
-
Inspect Wiring During Oil Changes: Use the tool’s flashlight feature to check sensor wires for heat damage near exhaust components.
-
Avoid Running on Low Fuel: Consistently low fuel levels let debris enter the system, damaging sensors and pumps.
Conclusion
P0193’s “high input” label can mask simple fixes (a shorted wire) or critical issues (failing fuel pump). The iCarsoft CR MAX BT cuts through confusion with wireless convenience, real-time fuel data, and vehicle-specific tools—helping you fix the root cause quickly.
Whether you’re a DIYer with a daily driver or a technician servicing a fleet, the CR MAX BT ensures you resolve P0193 correctly the first time. Don’t let fuel system gremlins derail your drive—use the CR MAX BT to get your engine back to peak performance.
FAQs About P0193 Code
Q: Can I drive with P0193?
A: Short trips (e.g., to a repair shop) may be possible, but stalling or engine damage risk increases with distance. Address P0193 within a few days.
Q: How much does it cost to fix P0193?
A: $50–$150 for a DIY sensor replacement; $150–$300 for professional installation. Fuel pump/regulator repairs add $300–$800. The CR MAX BT ($150–$250) saves money by avoiding misdiagnosis.
Q: Will P0193 clear on its own?
A: No—P0193 is a persistent fault caused by physical issues (sensor/wiring/pump). You need to diagnose, repair, and manually clear the code with a tool like the CR MAX BT.
Q: Can a dirty fuel filter cause P0193?
A: Indirectly— a clogged filter strains the fuel pump, leading to erratic pressure. If pressure spikes beyond specs, the sensor sends high voltage, triggering P0193.