Diagnose & Clear P06DD with iCarsoft CR Pro+: Fix Engine Oil Pressure Control Solenoid Issues
If your check engine light illuminates and a scan returns P06DD, your vehicle’s engine oil system is signaling a critical pressure regulation problem. This generic OBD-II code stands for "Engine Oil Pressure Control Solenoid Performance/Stuck Off"—indicating the Engine Control Module (ECM) has detected that the oil pressure control solenoid is either malfunctioning or stuck in the closed position, preventing proper oil pressure adjustment.
Modern engines use an oil pressure control solenoid (often part of the variable oil pump) to regulate oil pressure based on engine load and speed. At idle, lower pressure suffices to reduce friction; under acceleration, higher pressure ensures critical components (bearings, camshafts) receive adequate lubrication. When P06DD occurs, the solenoid fails to open, leaving pressure stuck at either too low or too high levels. This risks engine damage: insufficient pressure causes metal-on-metal contact, while excessive pressure can burst gaskets or seals.
Basic scanners might only label P06DD as an "oil pressure solenoid fault" but can’t test solenoid functionality or measure actual oil pressure. The iCarsoft CR Pro+—with its oil pressure monitoring, solenoid activation tests, and system pressure logging—solves this. Let’s walk through how to diagnose and resolve P06DD.
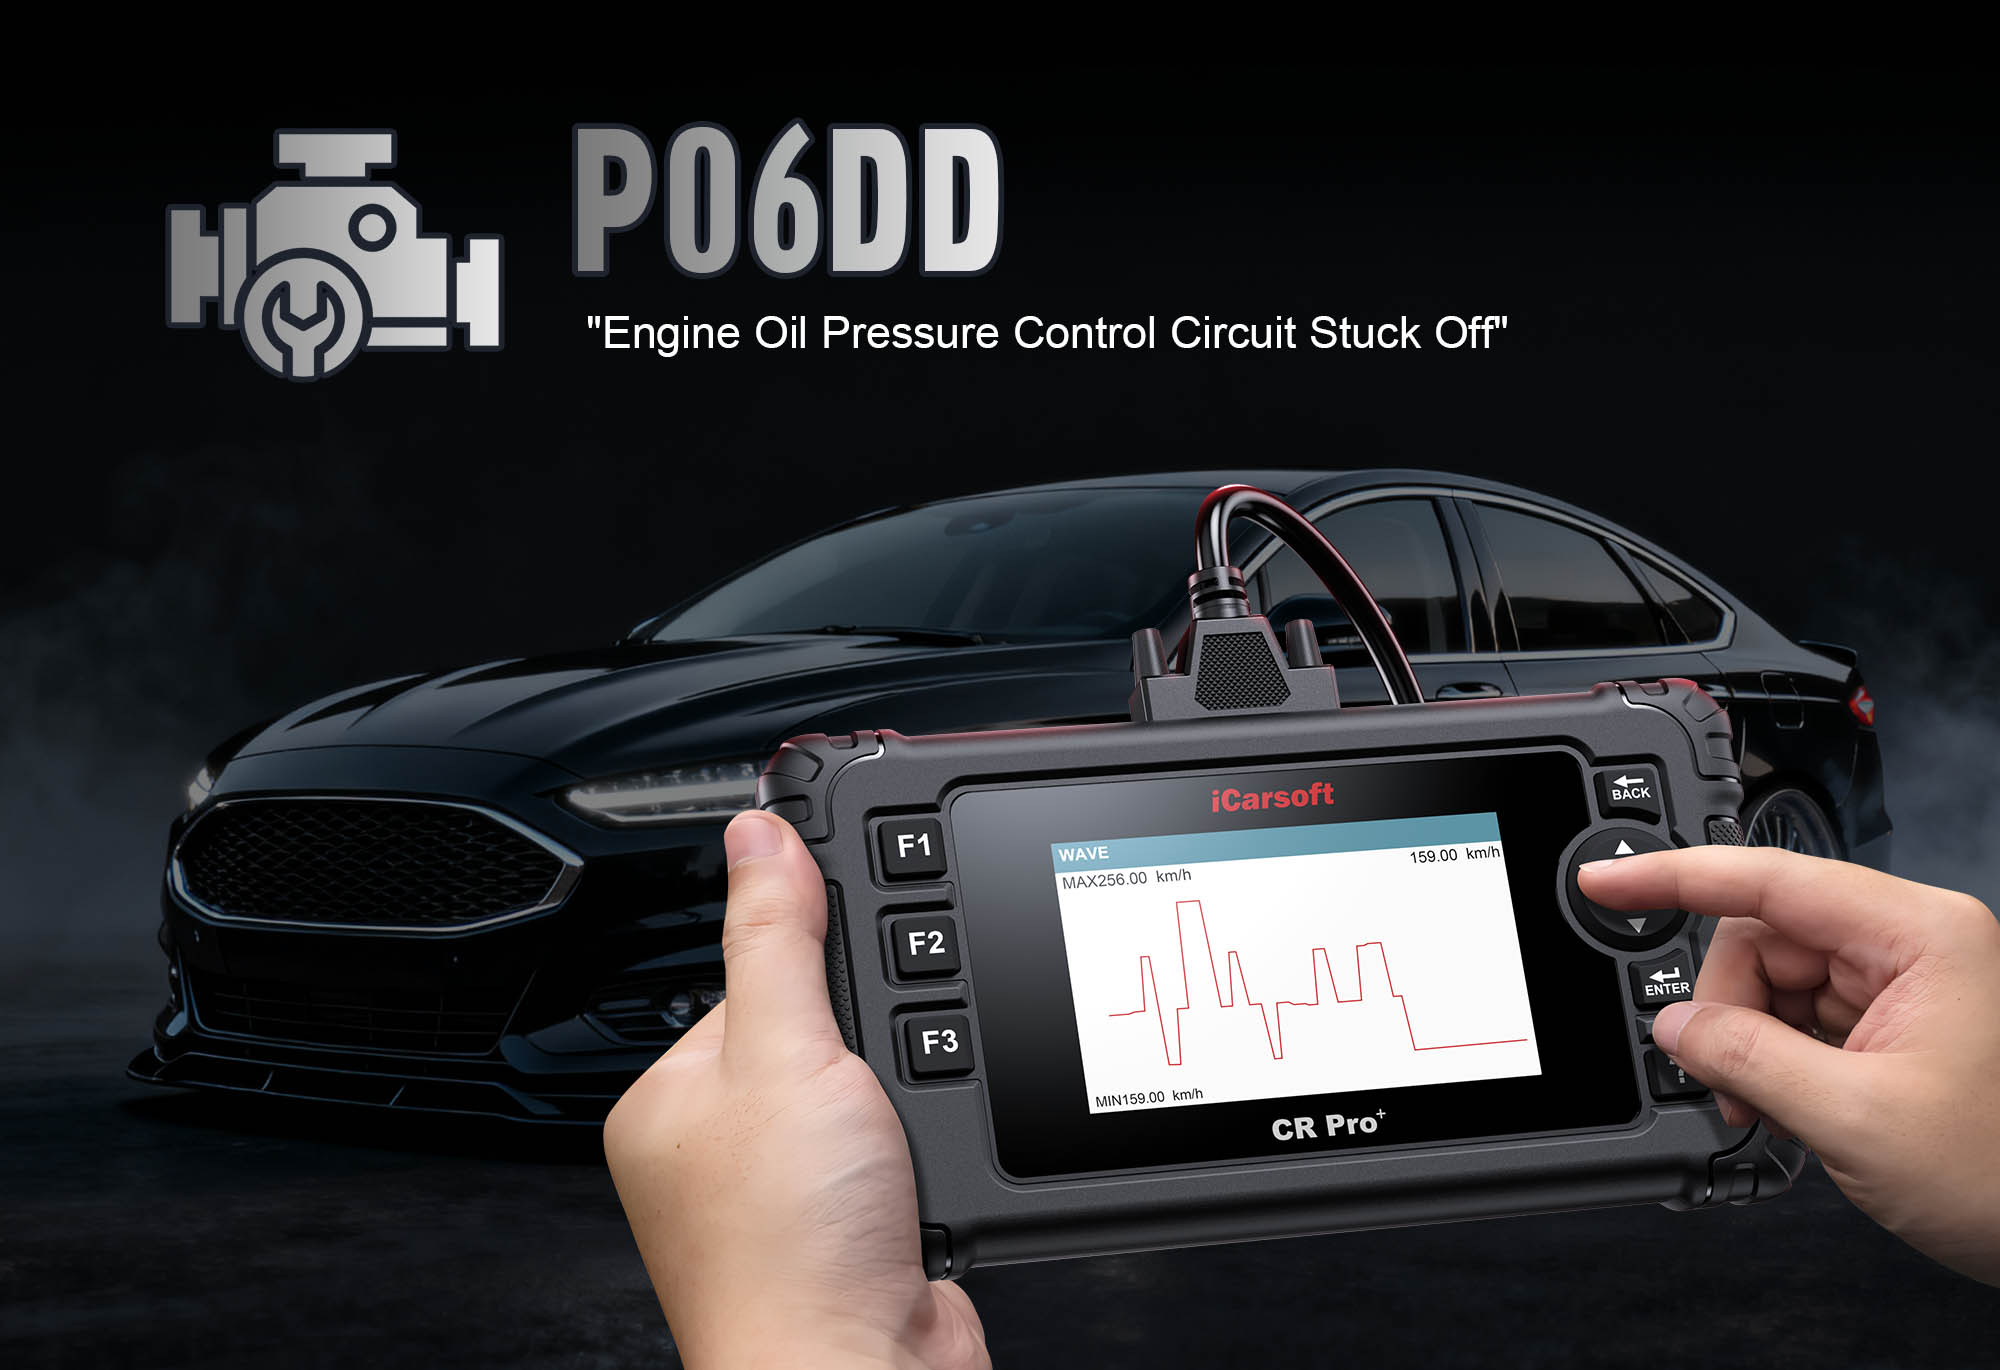
 iCarsoft CR Pro+ monitoring real-time oil pressure to diagnose P06DD
Understanding P06DD: Causes & Key Symptoms
To tackle P06DD effectively, recognize how oil pressure regulation failures impact your engine:
Key Symptoms of P06DD
-
Check Engine Light: Illuminates when the ECM detects the solenoid isn’t responding to commands (e.g., no pressure change when activated) for 3+ consecutive cycles.
-
Oil Pressure Warning Light: Often accompanies P06DD—indicates pressure is outside safe ranges (too low or high).
-
Engine Noise: Ticking, knocking, or rumbling sounds (insufficient lubrication from low pressure damages bearings).
-
Reduced Performance: Sluggish acceleration—high pressure increases mechanical resistance, sapping power.
-
Oil Leaks: Excessive pressure can force oil past gaskets, creating leaks around the oil pan or valve cover.
-
Overheating: Poor oil circulation (from pressure issues) reduces heat transfer, leading to higher engine temperatures.
Common Causes of P06DD
|
Cause
|
Description
|
|
Stuck Oil Pressure Control Solenoid
|
Debris, sludge, or corrosion prevents the solenoid from opening—traps pressure at base levels (most common cause, ~40% of P06DD cases).
|
|
Faulty Solenoid Coil
|
Electrical failure in the solenoid’s coil means it doesn’t respond to ECM voltage signals—no pressure adjustment.
|
|
Clogged Oil Passages
|
Sludge or dirt blocks oil flow to/from the solenoid—mimics a stuck valve by preventing pressure changes.
|
|
Low/Contaminated Engine Oil
|
Insufficient oil volume or dirty oil (with metal particles) disrupts pressure regulation—thick sludge jams the solenoid.
|
|
Wiring Issues
|
Damaged wires or corroded connectors between the ECM and solenoid block electrical signals—solenoid doesn’t receive commands.
|
|
Failing Oil Pump
|
A worn variable oil pump can’t generate sufficient pressure range—triggers the solenoid to register as malfunctioning.
|
Why iCarsoft CR Pro+ Excels at Diagnosing P06DD
The CR Pro+ outperforms basic tools with features tailored to oil pressure system diagnostics—critical for pinpointing P06DD’s root cause:
Real-Time Oil Pressure Monitoring
Displays pressure in 0.1 psi increments (vs. 5–10 psi on basic scanners), capturing subtle irregularities that indicate solenoid issues.
Bi-Directional Solenoid Activation
Commands the oil pressure control solenoid to open/close, verifying if it adjusts pressure as expected—no need for mechanical disassembly.
Oil Temperature Tracking
Correlates pressure with temperature (thinner cold oil = lower pressure) to rule out normal variations and isolate solenoid faults.
Vehicle-Specific Oil System Diagrams
Preloaded with solenoid locations, oil pump specs, and pressure ranges for 65+ makes (e.g., Dodge Ram, Jeep Wrangler, Chrysler 300).
Solenoid Resistance Testing
Measures coil resistance to identify electrical failures (10–30 ohms normal)—eliminates guesswork with multimeter-free testing.
Post-Repair Validation
Runs pressure cycle tests across RPM ranges (idle to 4,000 RPM) to ensure the solenoid and pump function correctly after repairs.
Step-by-Step: Diagnose P06DD with iCarsoft CR Pro+
-
1. Connect & Confirm the Code
1. Plug the CR Pro+ into your vehicle’s OBD-II port (under the dashboard) and power it on.
2. Select your vehicle via Auto VIN Scan (reads VIN in 2 seconds) or manual entry (make/model/year/engine—critical for oil system specs).
3. Navigate to Engine > Fault Codes > Read Codes to confirm P06DD. Tap Code Details for vehicle-specific insights (e.g., "Chrysler: Oil Pressure Solenoid Not Opening – Pressure >80 psi at Idle" or "Jeep: Solenoid Stuck Off – Pressure <15 psi at 3,000 RPM").
-
2. Check for Related Oil System Codes
P06DD rarely appears alone—scan for companion faults to narrow the root cause:
- P0520/P0521/P0522: Oil Pressure Sensor Malfunction (incorrect pressure readings that mimic solenoid issues)
- P0523: Oil Pressure Sensor High Voltage (indicates overpressure from stuck solenoid)
- P06DE: Oil Pressure Solenoid Stuck On (opposite of P06DD, but signals systemic oil system issues)
- P0016: Crankshaft/Camshaft Timing Misalignment (caused by low oil pressure from solenoid failure)
Multiple codes = address systemic issues (e.g., solenoid failure + sensor fault) instead of isolated clogging.
-
3. Verify Oil Level & Condition
Low or dirty oil is a top P06DD trigger—resolve this first before testing components:
1. Ensure the engine is cold and off (wait 10+ minutes for oil to drain to the pan).
2. Pull the dipstick, wipe clean, reinsert, and check level—must be between "MIN" and "MAX" marks. Add oil if low (use CR Pro+’s Oil Type Lookup for viscosity, e.g., 5W-20 for modern Chrysler engines).
3. Inspect oil condition: Normal = amber/light brown, smooth; Bad = black, gritty, or foamy (indicates sludge—needs immediate oil change + flush).
-
4. Locate the Oil Pressure Control Solenoid
Find the solenoid using the CR Pro+ to avoid misdiagnosis:
1. Navigate to Component Location > Engine > Oil System > Pressure Control Solenoid.
2. The scanner displays a diagram: Solenoids are typically mounted on the oil pump (front of the engine) or near the oil filter housing, with a 2-pin electrical connector.
3. Mark the solenoid location with tape—note access points (e.g., "Remove plastic engine cover to reach").
-
5. Monitor Live Oil Pressure & Solenoid Data
Capture real-time data to identify pressure irregularities:
1. Start the engine and let it idle (cold start—oil temperature <100°F).
2. Navigate to Engine > Live Data > Oil System and add these parameters to "Favorites":
- "Oil Pressure" (normal idle = 20–40 psi; check CR Pro+’s vehicle-specific specs).
- "Oil Pressure Solenoid Status" (should show "Closed" at idle, "Open" when revved).
- "Oil Temperature" (should rise steadily to 180–220°F).
3. Rev the engine to 3,000 RPM: Pressure should increase by 10–20 psi if the solenoid works. No change = stuck solenoid or failing pump.
-
6. Test the Solenoid’s Electrical Function
Verify if the solenoid coil is faulty (electrical failure is common):
1. Turn off the engine and disconnect the solenoid’s electrical connector (wear gloves to avoid oil residue).
2. Navigate to Special Functions > Oil System > Solenoid Resistance Test.
3. Connect the CR Pro+’s test leads to the connector terminals (follow on-screen pinout—e.g., "Terminal 1: Power; Terminal 2: Ground").
4. Interpret results:
- Normal: 10–30 ohms (varies by manufacturer—check scanner’s vehicle data).
- Infinite resistance: Coil is broken (replace the solenoid).
- Too low resistance (<5 ohms): Internal short (replace immediately to avoid ECM damage).
-
7. Test Solenoid Response to Commands (Bi-Directional Test)
Confirm if the solenoid physically opens/closes with electrical signals:
1. Reconnect the solenoid connector. Start the engine and let it idle (oil temperature ≥150°F for accurate testing).
2. Navigate to Special Functions > Oil System > Solenoid Activation Test.
3. Follow prompts:
- Command "Open": Pressure should drop 5–10 psi (varies by vehicle—check scanner’s expected range).
- Command "Close": Pressure should return to idle baseline.
4. Results:
- No pressure change + good resistance = stuck solenoid (debris/sludge) or clogged oil passages.
- Pressure changes as expected = wiring or ECM issue (test Step 9).
-
8. Inspect for Clogged Passages or Failing Oil Pump
If the solenoid tests good but pressure doesn’t change:
Clogged Passages:
1. Perform an oil change with detergent-based oil (use CR Pro+’s Oil Recommendation).
2. Add an engine flush (check CR Pro+’s Flush Compatibility Guide to avoid seal damage) and idle the engine for 10 minutes.
3. Recheck solenoid response—improved pressure change = clog was the cause.
Oil Pump Check:
1. Use the CR Pro+ to monitor pressure at 1,000 RPM increments (idle → 2,000 → 3,000 → 4,000 RPM).
2. Abnormal patterns (e.g., pressure drops at 3,000 RPM, fluctuates wildly) = failing pump (consult a mechanic for replacement—complex repair).
-
9. Check Wiring for Damage or Corrosion
Electrical issues can mimic solenoid failure—inspect thoroughly:
1. Disconnect the solenoid connector and check for:
- Corroded terminals (white/green deposits—clean with electrical contact cleaner).
- Bent or broken pins (straighten carefully with a small screwdriver; replace connector if damaged).
2. Test voltage to the solenoid:
- Turn ignition to "ON" (engine off).
- Use the CR Pro+’s voltage probe on the connector’s power pin—should read 12V.
- No voltage = broken wire (trace using scanner’s wiring diagram) or ECM issue (rare, consult professional).
3. Repair damaged wires: Splice with heat-shrink connectors; replace severely corroded sections.
-
10. Repair & Clear P06DD
Fix the root cause based on diagnostics—prioritize low-cost, easy fixes first:
- Stuck/Faulty Solenoid: Replace with OEM (check CR Pro+’s Part Lookup for compatibility, e.g., Mopar 68105583AA for Chrysler).
- Clogged Passages: Complete oil change + flush (as in Step 8).
- Low/Contaminated Oil: Change oil to manufacturer specs.
- Wiring/Corrosion: Repair wires or clean connectors; apply dielectric grease.
- Failing Pump: Schedule professional replacement.
Clear the code: Navigate to Engine > Fault Codes > Clear Codes to delete P06DD and related oil system faults.
-
11. Verify the Repair
Confirm proper oil pressure regulation to avoid engine damage:
Recheck Live Data: Start the engine—pressure adjusts smoothly with RPM (increases under load, decreases at idle).
Re-run Activation Test: Solenoid opens/closes, and pressure changes match expected ranges.
Test Drive: Drive 30 minutes (include highway speeds) to check for engine noise, leaks, or warning lights.
Re-scan: No return of P06DD + stable oil pressure = successful repair.
Oil Level Recheck: Ensure no leaks (level should remain between "MIN" and "MAX" after driving).
Preventing P06DD Recurrence
The CR Pro+ helps maintain a healthy oil pressure system long-term, avoiding future P06DD codes:
-
Oil Maintenance: Use the CR Pro+’s Service Reminder to change oil every 5,000–7,500 miles (follow vehicle specs) with the correct viscosity (e.g., 5W-30 for high-mileage engines).
-
Solenoid Checks: Run the Solenoid Resistance Test every 15,000 miles to catch coil degradation early (before it triggers P06DD).
-
Sludge Prevention: Add a fuel system cleaner quarterly (use CR Pro+’s recommendations) to reduce oil contamination and passage clogging.
-
Wiring Inspections: Check solenoid connectors during oil changes—apply dielectric grease to prevent corrosion from moisture or oil.
-
Cold Weather Care: Let the engine warm up for 30 seconds before driving in cold climates (thick cold oil strains the solenoid and pump).
-
Oil Filter Replacement: Always replace the oil filter with OEM or high-quality aftermarket (e.g., Fram Ultra) to prevent debris from entering the solenoid.
Conclusion
P06DD’s link to oil pressure regulation makes it a high-risk fault for engine health—ignoring it can lead to costly bearing damage or pump failure. The iCarsoft CR Pro+ eliminates guesswork with oil system-specific tools: from monitoring pressure in 0.1 psi increments to activating the solenoid directly, it ensures you resolve the root cause, not just the code.
Whether you’re replacing a $80 solenoid, flushing oil passages, or repairing wiring, the CR Pro+ guides every step—protecting critical engine components and maintaining optimal lubrication. With this guide, you’ll turn an "oil pressure solenoid fault" into a confident repair, keeping your engine running smoothly and avoiding breakdowns.
FAQs About P06DD Code
Q: Can I drive my vehicle with P06DD?
A: No—P06DD risks severe engine damage. If the oil pressure warning light is on (too low/high), stop driving immediately. If only the check engine light is on, drive only short distances (to a repair shop) and avoid high RPM or heavy loads—insufficient lubrication can destroy bearings in minutes.
Q: Why does P06DD return after replacing the solenoid?
A: Common reasons: 1) Unaddressed clogging (sludge still blocks oil passages), 2) Failing oil pump (can’t generate pressure range), 3) Wrong solenoid (non-OEM parts don’t match ECM calibration), 4) Wiring damage (new solenoid still doesn’t get power). Re-run the CR Pro+’s passage flush and pump tests to find the issue.
Q: How much does it cost to fix P06DD?
A: Costs vary by cause: Solenoid replacement = $80–$200 (DIY); Oil change + flush = $50–$100 (DIY); Wiring repair = $20–$50 (DIY); Oil pump replacement = $300–$800 (professional, due to labor). The CR Pro+ helps avoid overspending by identifying low-cost fixes first (e.g., flush vs. pump replacement).
Q: Do all vehicles have an oil pressure control solenoid?
A: No—only vehicles with variable oil pumps (most 2010+ models, especially Chrysler, Ford, and GM) have this solenoid. Older vehicles with fixed oil pumps won’t trigger P06DD. Use the CR Pro+’s Vehicle Compatibility tool to confirm if your vehicle has a variable oil pump and solenoid.

 iCarsoft CR Pro+ monitoring real-time oil pressure to diagnose P06DD


