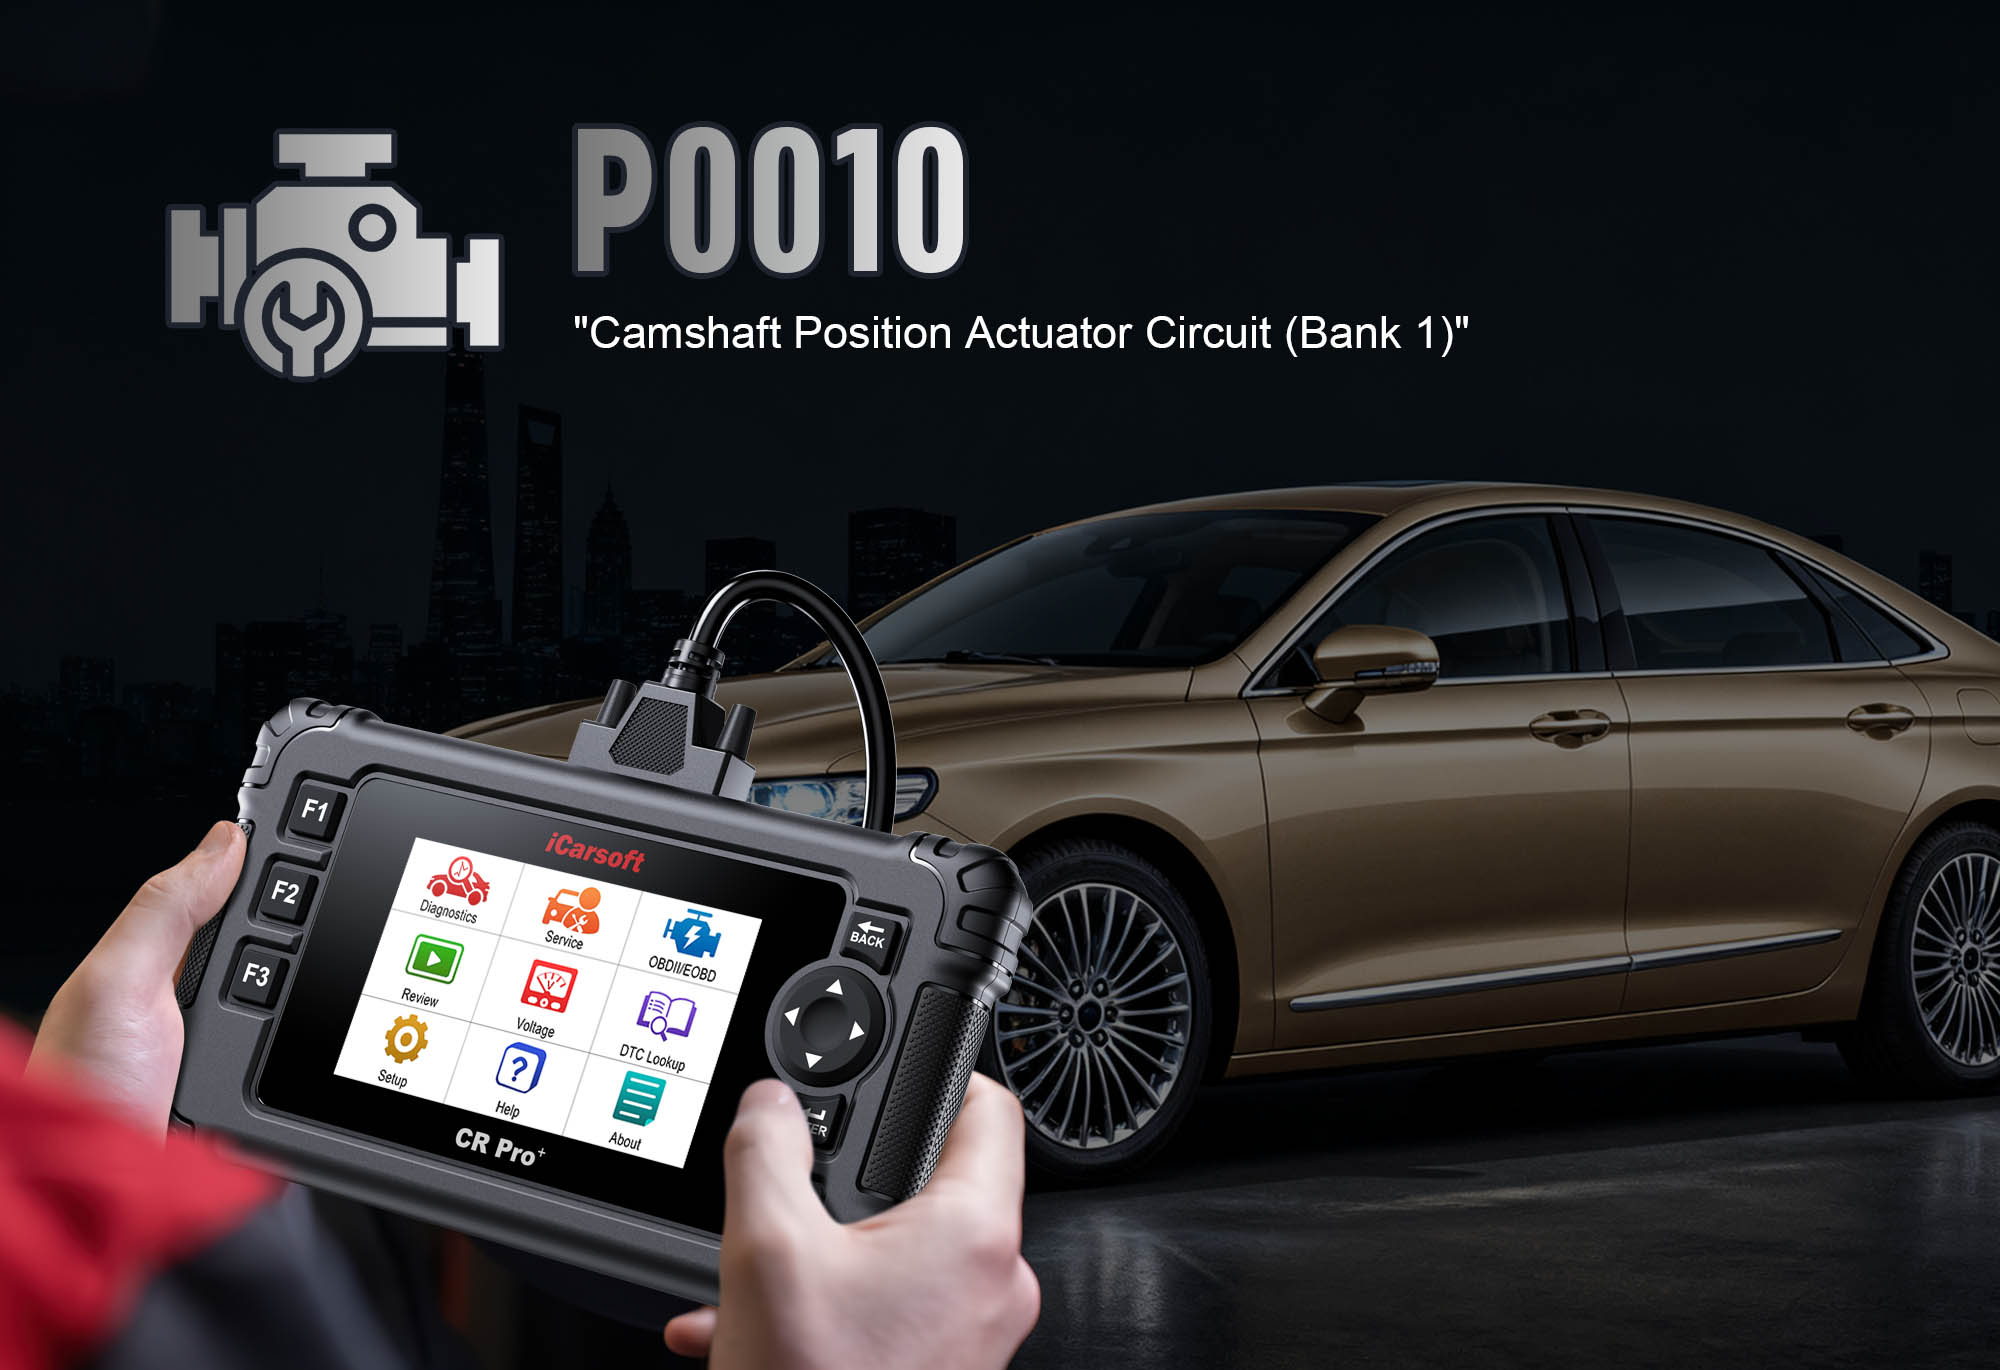
Diagnose & Clear P0010 with iCarsoft CR Pro+: Fix Intake Camshaft Position Actuator Circuit (Bank 1)
If your check engine light illuminates and a scan returns P0010, your vehicle’s engine timing system is signaling a critical issue with variable valve timing (VVT). This generic OBD-II code stands for "Intake Camshaft Position Actuator Circuit/Open (Bank 1)"—indicating the Engine Control Module (ECM) has detected an electrical fault in the circuit that controls the intake camshaft actuator, preventing proper timing adjustments.
Modern engines use camshaft position actuators (also called VVT solenoids) to adjust valve timing on the fly, optimizing performance, fuel efficiency, and emissions. The actuator uses oil pressure to advance or retard the camshaft relative to the crankshaft. When P0010 occurs, an open circuit (broken wire, faulty solenoid, or loose connector) stops the ECM from controlling the actuator, locking the camshaft in a fixed position. This causes rough idle, reduced power, increased fuel consumption, and potential engine damage over time.
Basic scanners might only label P0010 as a "VVT circuit fault" but can’t test solenoid functionality or pinpoint wiring issues. The iCarsoft CR Pro+—with its circuit voltage testing, actuator activation tests, and real-time camshaft timing data—solves this. Let’s walk through how to diagnose and resolve P0010.
 iCarsoft CR Pro+ testing intake camshaft actuator circuit for P0010 diagnosis
Understanding P0010: Causes & Key Symptoms
To tackle P0010 effectively, recognize how VVT system electrical faults impact engine performance:
Key Symptoms of P0010
-
Check Engine Light: Illuminates when the ECM detects no voltage or continuity in the intake camshaft actuator circuit for 2+ drive cycles.
-
Rough Idle & Stalling: Fixed camshaft timing disrupts air-fuel mixture at low speeds, causing vibrations or stalls.
-
Reduced Power & Acceleration: The engine can’t advance timing for higher RPMs, leading to sluggish performance.
-
Increased Fuel Consumption: Inefficient timing forces the engine to burn more fuel—expect 10–15% lower mileage.
-
Cold Start Issues: Harder to start in cold weather, as fixed timing prevents optimal cold-start fuel enrichment.
-
Engine Ticking Noise: A faint ticking from the valve cover area (actuator not responding to oil pressure changes).
Common Causes of P0010
|
Cause
|
Description
|
|
Faulty Intake Camshaft Actuator (VVT Solenoid)
|
Internal electrical coil failure breaks the circuit, stopping communication with the ECM (most common cause, ~40% of P0010 cases).
|
|
Damaged Wiring
|
Frayed, cut, or corroded wires between the ECM and actuator disrupt signal flow—common near the timing cover or engine movement points.
|
|
Loose/Corroded Connector
|
Poor contact at the actuator’s electrical plug causes intermittent or no circuit continuity—worsens with engine vibration.
|
|
Blown Fuse
|
A dedicated fuse for the VVT system (if equipped) may blow, cutting power to the actuator (e.g., 7.5A fuse in Toyota engine fuse boxes).
|
|
Low/Contaminated Engine Oil
|
Insufficient oil pressure (from low levels or sludge) prevents the actuator from functioning, triggering circuit fault codes indirectly.
|
|
ECM Malfunction
|
Rare, but a damaged ECM may fail to send voltage to the actuator circuit—requires dealer-level diagnostics.
|
Why iCarsoft CR Pro+ Excels at Diagnosing P0010
The CR Pro+ outperforms basic tools with features tailored to VVT system diagnostics—critical for pinpointing P0010’s root cause:
Circuit Voltage & Resistance Testing
Measures voltage, current, and continuity in the actuator circuit to identify breaks, shorts, or corrosion—quantifies electrical issues precisely.
Bi-Directional Actuator Control
Activates the intake camshaft actuator directly from the scanner—verifies if it responds to electrical signals (no need for mechanical disassembly).
Real-Time Timing Data
Displays camshaft position relative to crankshaft (in degrees) to detect timing lockup—confirms if the actuator adjusts as commanded.
Vehicle-Specific VVT Diagrams
Preloaded with actuator locations, wiring schematics, and fuse positions for 65+ makes (e.g., Toyota Corolla, Hyundai Sonata, Audi A4).
Oil Pressure Monitoring
Checks oil pressure (critical for actuator operation) to rule out low-pressure-related faults before replacing electrical components.
Post-Repair Validation
Runs timing synchronization tests across RPM ranges to ensure the actuator adjusts timing correctly after repairs.
Step-by-Step: Diagnose P0010 with iCarsoft CR Pro+
-
1. Connect & Confirm the Code
1. Plug the CR Pro+ into your vehicle’s OBD-II port (under the dashboard) and power it on.
2. Select your vehicle via Auto VIN Scan (reads VIN in 2 seconds) or manual entry (make/model/year/engine—critical for VVT system specifics).
3. Navigate to Engine > Fault Codes > Read Codes to confirm P0010. Tap Code Details for vehicle-specific insights (e.g., "Toyota: Intake VVT Solenoid Circuit Open – No Voltage Detected" or "Hyundai: Intake Actuator Circuit Resistance High").
-
2. Check for Related VVT/Timing Codes
P0010 rarely appears alone—scan for companion faults to narrow the root cause:
- P0011: Intake Camshaft Timing Over-Advanced – Bank 1 (timing issue from actuator failure)
- P0012: Intake Camshaft Timing Over-Retarded – Bank 1 (timing issue from actuator failure)
- P0013: Exhaust Camshaft Position Actuator Circuit – Bank 1 (indicates systemic VVT issues)
- P0020: Intake Camshaft Position Actuator Circuit – Bank 2 (multi-bank engine issue)
- P0520: Oil Pressure Sensor Malfunction (low pressure affects actuator operation)
Multiple codes = address systemic issues (e.g., wiring damage + low oil pressure) instead of isolated actuator faults.
-
3. Verify Oil Level & Condition
Low or dirty oil disrupts VVT actuator operation—resolve this first before testing components:
1. Ensure the engine is cold and off (wait 10+ minutes for oil to drain to the pan).
2. Pull the dipstick, wipe clean, reinsert, and check level—must be between "MIN" and "MAX" marks. Add oil if low (use CR Pro+’s Oil Type Lookup for viscosity, e.g., 0W-20 for modern Toyotas).
3. Inspect oil condition: Normal = amber/light brown, smooth; Bad = black, gritty, or foamy (indicates sludge—needs immediate oil change + flush).
-
4. Locate the Intake Camshaft Actuator (Bank 1)
Find the actuator using the CR Pro+ to avoid misdiagnosis:
1. Navigate to Component Location > Engine > VVT System > Intake Actuator (Bank 1).
2. The scanner displays a diagram: Actuators are typically mounted on the cylinder head (Bank 1 = cylinders closest to the front) with a 2-pin electrical connector and oil inlet port.
3. Mark the actuator location with tape—note access points (e.g., "Remove valve cover to access" or "Located near timing chain cover").
-
5. Test the Actuator’s Electrical Function
Verify if the actuator coil is faulty (electrical failure is common):
1. Disconnect the actuator’s electrical connector (wear gloves to avoid oil residue).
2. Navigate to Special Functions > VVT System > Actuator Resistance Test.
3. Connect the CR Pro+’s test leads to the connector terminals (follow on-screen pinout—e.g., "Terminal 1: Power; Terminal 2: Ground").
4. Interpret results:
- Normal: 6–12 ohms (varies by manufacturer—check scanner’s vehicle data).
- Infinite resistance: Coil is broken (replace the actuator).
- Too low resistance (<5 ohms): Internal short (replace immediately to avoid ECM damage).
-
6. Inspect the Circuit for Wiring/Connector Issues
A damaged circuit is a top P0010 cause—diagnose with the CR Pro+:
Step 1: Check the VVT System Fuse
1. Locate the fuse using the scanner’s diagram (e.g., "Fuse Box 2, Fuse 17: VVT Solenoid").
2. Visually inspect for a broken filament—replace with the correct amp rating (e.g., 7.5A) if blown.
Step 2: Test Voltage to the Actuator
1. Reconnect the actuator connector. Turn the ignition to "ON" (engine off).
2. Navigate to Special Functions > VVT System > Circuit Voltage Test.
3. Probe the connector’s power pin with the scanner’s test lead—should read 12V (battery voltage).
- No voltage: Trace wiring back to the fuse/ECM for breaks or loose connections.
Step 3: Check Ground Continuity
1. Disconnect the connector again. Set the CR Pro+ to "Ohmmeter" mode.
2. Connect one lead to the actuator’s ground pin, the other to a clean chassis ground.
- >1 ohm resistance: Corroded ground wire or loose chassis connection—clean with a wire brush.
Step 4: Inspect for Physical Damage
1. Follow the wiring from the actuator to the ECM (use scanner’s diagram) for:
- Frayed/cut wires (common near timing belt/chain covers).
- Green/white corrosion (sign of water intrusion).
- Oil-soaked wiring (actuator oil seal leak—replace actuator and wiring).
-
7. Test Actuator Response to ECM Commands
Verify if the actuator physically moves with electrical signals:
1. Reconnect all components. Start the engine and let it idle (oil temperature ≥150°F for accurate testing).
2. Navigate to Special Functions > VVT System > Actuator Activation Test.
3. Follow prompts:
- Command "Advance": Monitor Live Data for "Camshaft Position (Bank 1)"—should increase by 5–10 degrees (varies by vehicle).
- Command "Retard": Position should decrease by 5–10 degrees.
4. Results:
- No position change + good resistance = actuator stuck (oil passage clog) or ECM issue (rare).
- Position changes as expected = wiring or fuse issue (recheck Step 6).
-
8. Check for Oil Passage Clogs
Sludge can block oil flow to the actuator—test with the CR Pro+:
1. Navigate to Engine > Live Data > Oil System and monitor "Oil Pressure" at idle (normal = 20–40 psi).
2. If pressure is low (<15 psi):
- Perform an oil change with detergent-based oil (use CR Pro+’s Oil Recommendation).
- Add an engine flush (check Flush Compatibility Guide to avoid seal damage) and idle for 10 minutes.
3. Re-run the Actuator Activation Test—improved response = clogs were the cause.
4. If pressure is normal but actuator still unresponsive: Inspect oil passages in the cylinder head (complex repair—consult a mechanic).
-
9. Repair & Clear P0010
Fix the root cause based on diagnostics—prioritize low-cost, easy fixes first:
- Faulty Actuator: Replace with OEM (check CR Pro+’s Part Lookup for compatibility, e.g., Toyota 90910-03047).
- Blown Fuse: Install a new fuse of the correct amp rating.
- Damaged Wiring: Splice frayed sections with heat-shrink connectors; replace severely corroded wires.
- Corroded Connectors: Clean with contact cleaner and apply dielectric grease; replace if pins are broken.
- Low/Contaminated Oil: Change oil to manufacturer specs + flush (if sludge is present).
Clear the code: Navigate to Engine > Fault Codes > Clear Codes to delete P0010 and related VVT faults.
-
10. Verify the Repair
Confirm the actuator and circuit work properly to avoid engine damage:
Re-run Activation Test: Camshaft position changes as commanded (advance/retard) with corresponding RPM changes.
Live Data Check: "Camshaft Position (Bank 1)" adjusts smoothly with RPM (advances at high RPM, retards at idle).
Test Drive: Drive 30 minutes (include acceleration and highway speeds) to check for rough idle, power loss, or warning lights.
Re-scan: No return of P0010 + improved engine performance = successful repair.
Oil Level Recheck: Ensure no leaks (level should remain between "MIN" and "MAX" after driving).
Preventing P0010 Recurrence
The CR Pro+ helps maintain a healthy VVT system long-term, avoiding future P0010 codes:
-
Oil Maintenance: Use the CR Pro+’s Service Reminder to change oil every 5,000–7,500 miles (follow vehicle specs) with the correct viscosity for VVT systems (e.g., synthetic 5W-30 for high-performance engines).
-
Actuator Checks: Run the Resistance Test every 15,000 miles to catch coil degradation early (before it triggers P0010).
-
Wiring Inspections: Check actuator connectors during oil changes—apply dielectric grease to prevent corrosion from moisture or oil.
-
Sludge Prevention: Add an oil system cleaner every 30,000 miles (use CR Pro+’s recommendations) to keep oil passages clear of deposits.
-
Fuse Checks: Inspect the VVT fuse quarterly (use CR Pro+’s diagram to locate it) to avoid unexpected circuit failures.
-
Timing System Care: Address timing belt/chain replacements on schedule (worn timing components strain VVT actuators).
Conclusion
P0010’s focus on VVT circuit issues makes it a critical fault for engine performance—ignoring it risks reduced power, increased fuel use, and potential timing damage. The iCarsoft CR Pro+ eliminates guesswork with VVT-specific tools: from testing circuit voltage to activating the actuator directly, it ensures you resolve the root cause, not just the code.
Whether you’re replacing a $70 actuator, repairing a $10 wiring splice, or flushing sludge, the CR Pro+ guides every step—restoring proper valve timing and engine efficiency. With this guide, you’ll turn a "camshaft actuator circuit fault" into a straightforward repair, keeping your engine running smoothly and efficiently.
FAQs About P0010 Code
Q: Can I drive my vehicle with P0010?
A: Yes, but with caution. P0010 reduces engine performance and fuel efficiency, but driving short distances (to a repair shop) is safe. Avoid high RPM or heavy loads—fixed camshaft timing can cause pre-ignition (knocking) under stress, damaging pistons or valves.
Q: Why does P0010 return after replacing the actuator?
A: Common reasons: 1) Unaddressed oil passage clogs (sludge still blocks oil flow), 2) Failing oil pump (can’t generate sufficient pressure), 3) Wrong actuator (non-OEM doesn’t match ECM calibration), 4) Wiring damage (new actuator still doesn’t get signals). Re-run the CR Pro+’s oil pressure and wiring tests to find the issue.
Q: How much does it cost to fix P0010?
A: Costs vary by cause: Actuator replacement = $70–$200 (DIY); Wiring repair = $20–$50 (DIY); Oil change + flush = $50–$100 (DIY); Fuse replacement = $5–$10 (DIY). Professional repairs add $100–$200 in labor—avoid this with the CR Pro+’s DIY diagnostics.
Q: What’s the difference between P0010 and P0011?
A: P0010 is an electrical circuit fault (wiring, solenoid, fuse), while P0011 is a timing performance fault (actuator can’t advance timing due to mechanical issues, low oil pressure, or sludge). Both may occur together—P0010 often precedes P0011 if an electrical fault leads to timing lockup.